Preparing Your Home for a Paint Job: Essential Steps for Success


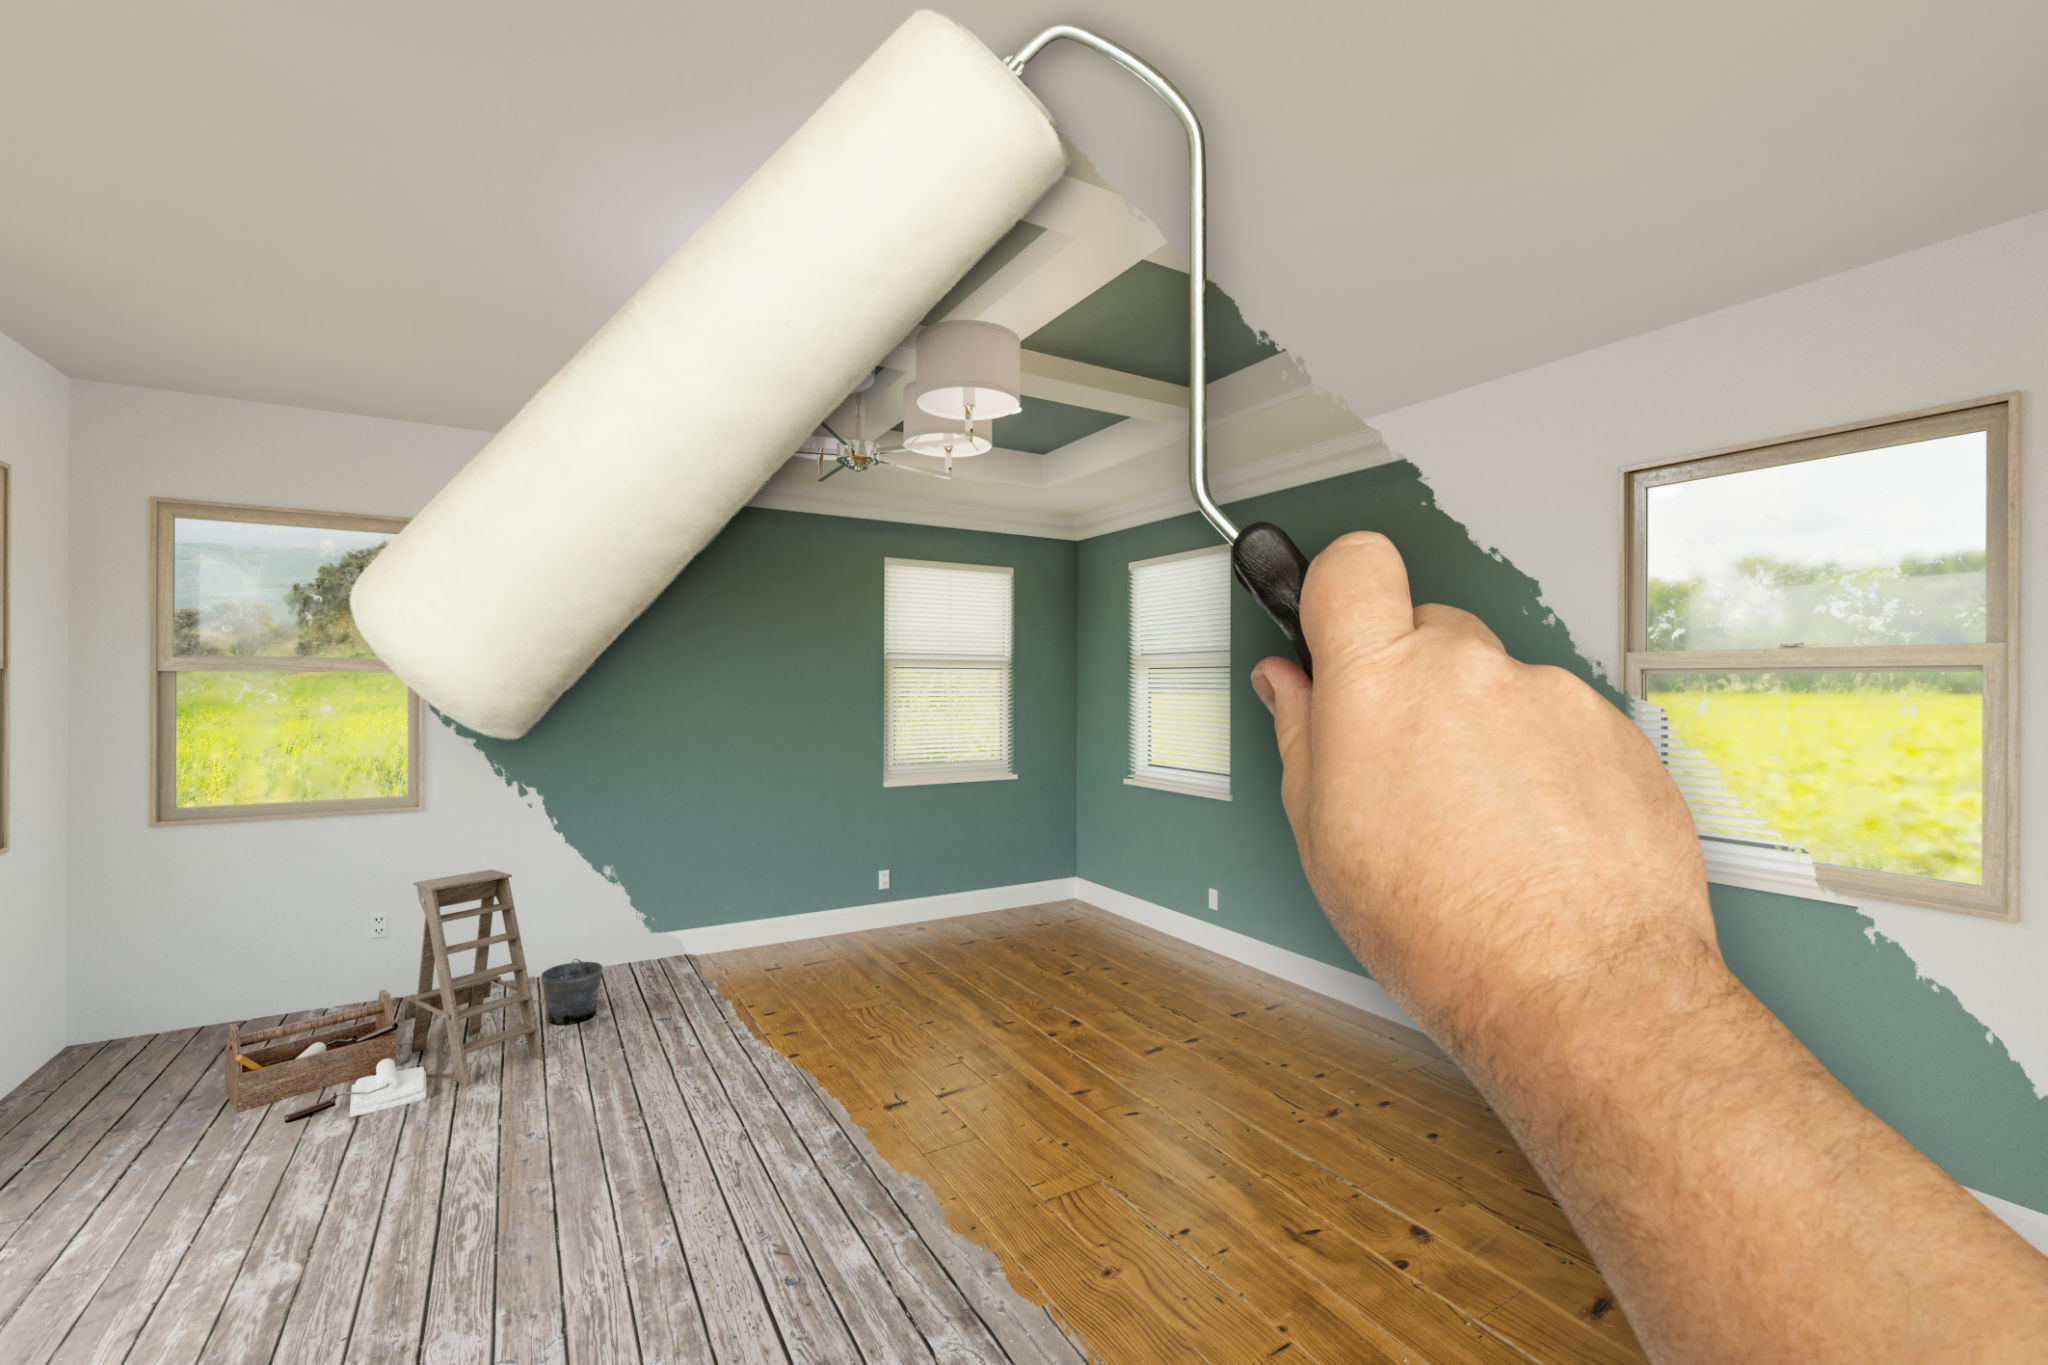
Planning Your Paint Job
Before diving into the actual painting process, it's crucial to have a solid plan in place. Start by determining the scope of your project. Are you painting a single room or the entire house? Knowing the size of the area will help you estimate the amount of paint required and the time you'll need to complete the job. Additionally, choose your paint colors wisely, as they will influence the mood and appearance of your home.
Consider consulting with a professional or using online tools to visualize different color options in your space. Once you have a clear idea of what you want, create a timeline for your project. This ensures you stay on track and manage your time effectively.
Gathering Supplies
Having the right tools and materials is essential for a successful paint job. First, make a list of the necessary supplies, including paint brushes, rollers, painter's tape, drop cloths, and paint trays. Don't forget to wear appropriate clothing that you don't mind getting paint on.
When selecting paint, consider the type of finish you want. Glossy finishes are more durable and easier to clean, making them ideal for high-traffic areas like kitchens and bathrooms. On the other hand, matte finishes can add a touch of elegance to living rooms and bedrooms. Make sure to purchase high-quality paint to ensure durability and a professional-looking result.
Preparing the Surface
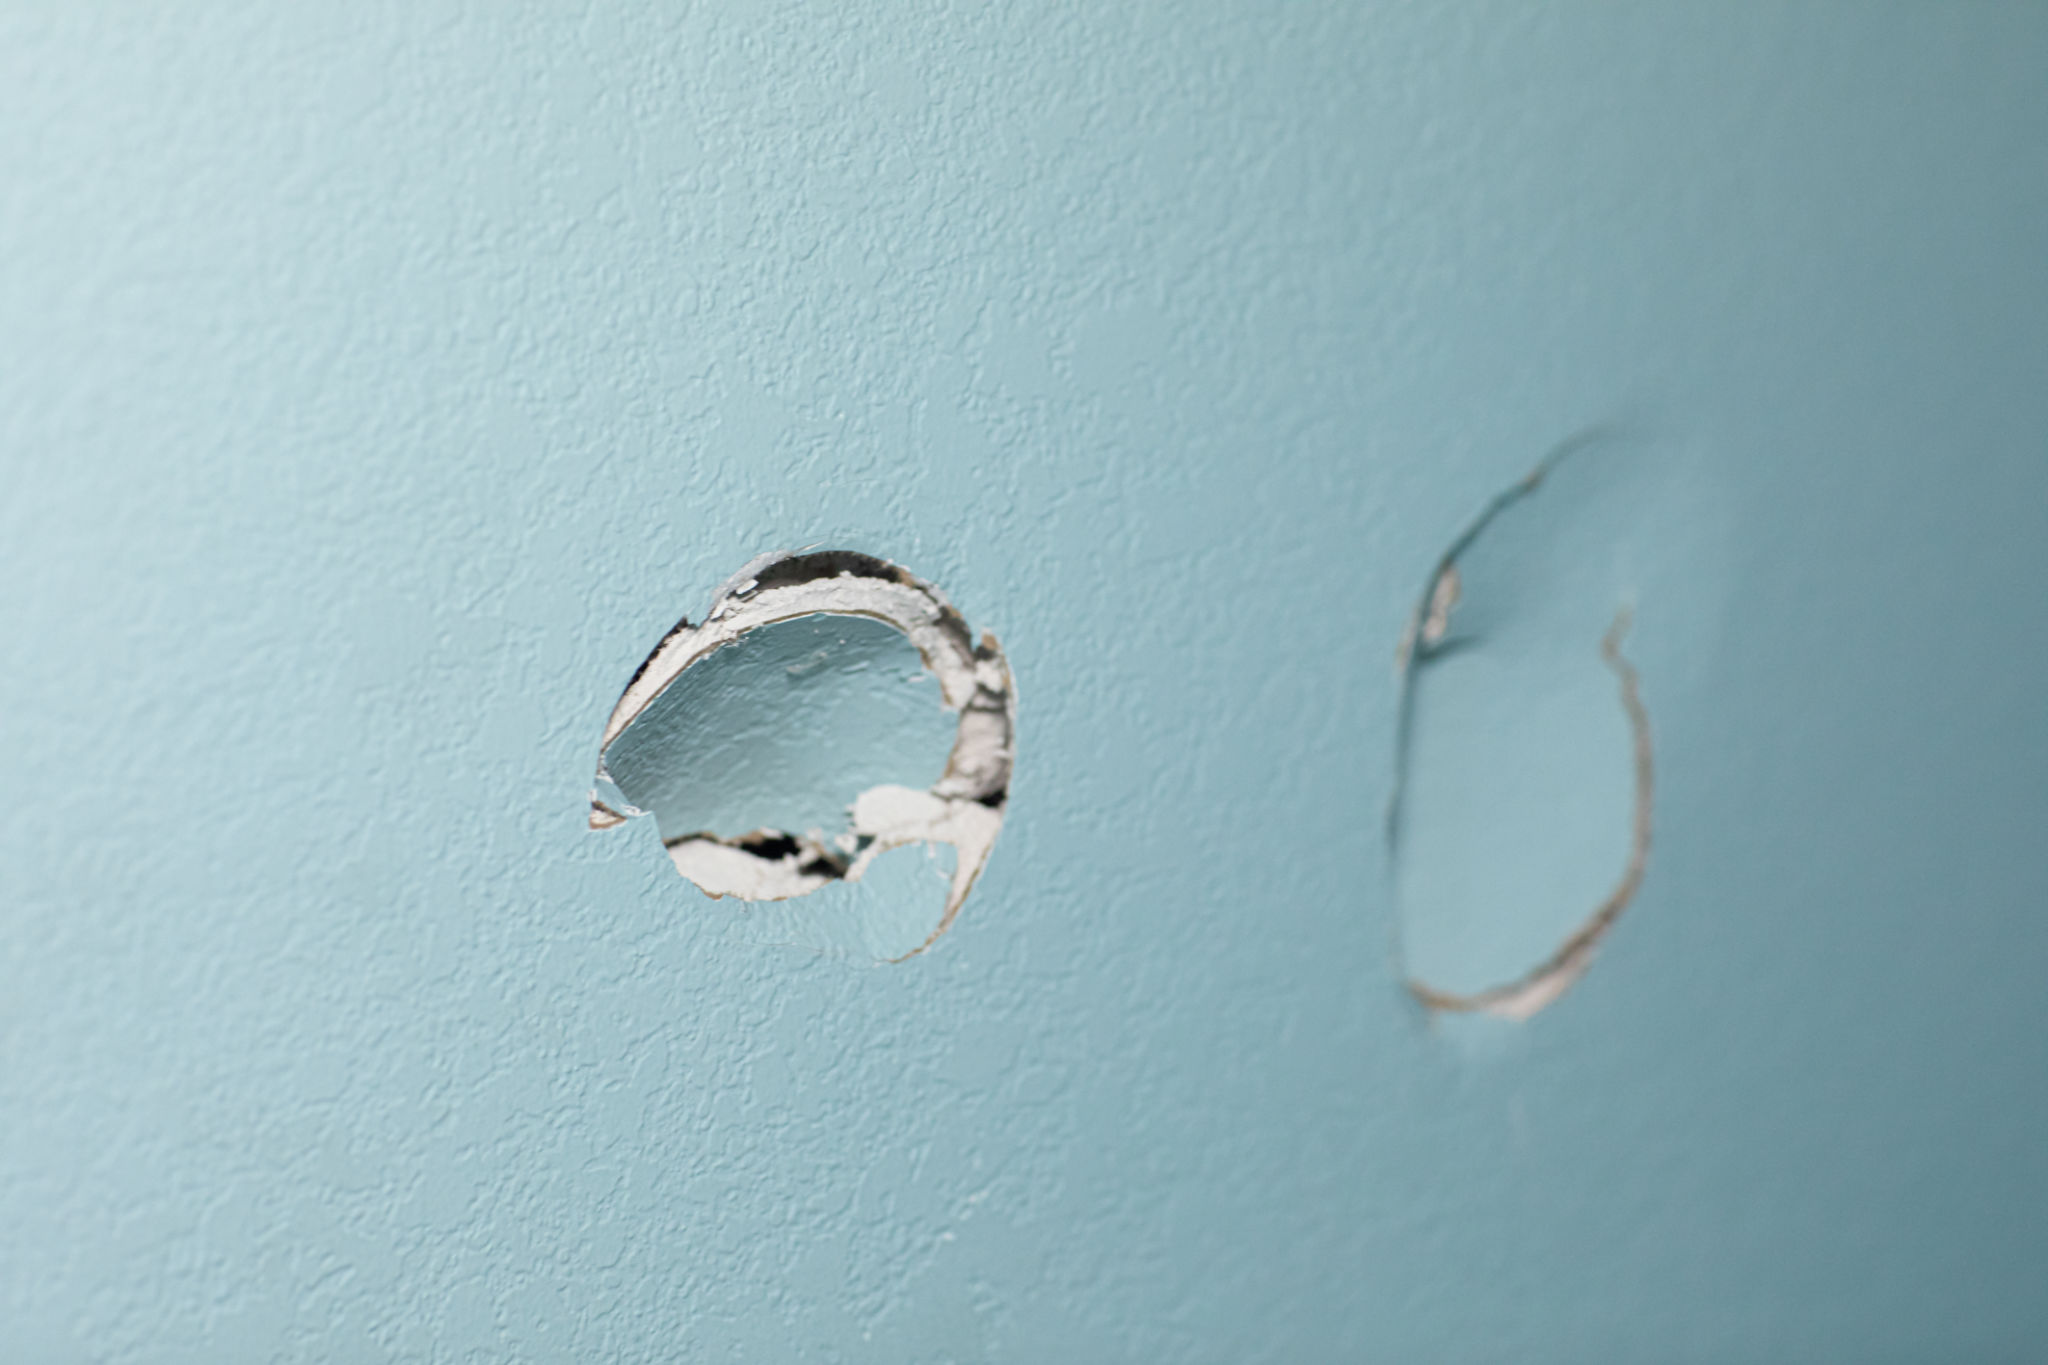
Proper surface preparation is crucial for achieving a smooth and long-lasting finish. Start by cleaning the walls thoroughly to remove dirt, dust, and grease. This can be done using a mild detergent mixed with water. After cleaning, inspect the walls for any imperfections such as cracks or holes.
Use spackle or filler to repair any damage, and sand the surface to create an even texture. Be sure to wipe away any dust created during sanding with a damp cloth. Applying a primer is also recommended, especially if you're making a significant color change or painting over bare drywall.
Protecting Your Space
Before you begin painting, it's important to protect your furniture and floors from accidental spills and splatters. Move furniture out of the room if possible, or cover it with plastic sheeting or drop cloths. Securely tape down drop cloths on the floor to prevent any movement during the painting process.
Use painter's tape to mask off areas you don't want to paint, such as trim, windows, and door frames. This will help you achieve clean lines and prevent paint from bleeding onto surfaces that should remain unpainted.
The Painting Process
Now that you're ready to start painting, begin by cutting in around the edges of the walls with a brush. This means painting the corners and edges that a roller might not reach. Once you've finished cutting in, use a roller to fill in the larger areas. Work in small sections and use even, overlapping strokes for uniform coverage.
Allow the first coat to dry completely before applying a second coat if necessary. Patience is key here—rushing through layers can lead to uneven coverage and a less-than-perfect finish.

Final Touches
Once your paint has dried, carefully remove any painter's tape while taking care not to peel away any fresh paint. Inspect your work for any missed spots or uneven areas that may require touch-ups. Use a small brush for any necessary corrections.
Finally, clean up your workspace by washing brushes and rollers immediately after use to prolong their lifespan. Dispose of any used materials responsibly according to local regulations.
Admiring Your Work
Your hard work has paid off, and it's time to admire your freshly painted space! A new coat of paint can completely transform your home, making it feel refreshed and renewed. Take pride in your efforts and enjoy your revitalized living environment.
Remember that maintaining your painted surfaces is essential for long-term enjoyment. Regular cleaning and touch-ups will ensure your walls continue to look great for years to come.