
How to Prepare Your Home for a Decorative Painting Makeover


Declutter and Clean the Space
Before starting any decorative painting project, it's essential to declutter and clean the space thoroughly. Remove all furniture, decorations, and items from the room to have a blank canvas to work on. This not only makes the process easier but also prevents any paint from accidentally getting on your belongings.
Once the room is cleared, give it a deep clean. Dust and dirt can interfere with paint application, so make sure walls, ceilings, and floors are spotless. Pay special attention to corners and crevices where dust can accumulate over time.

Repair and Prime the Surfaces
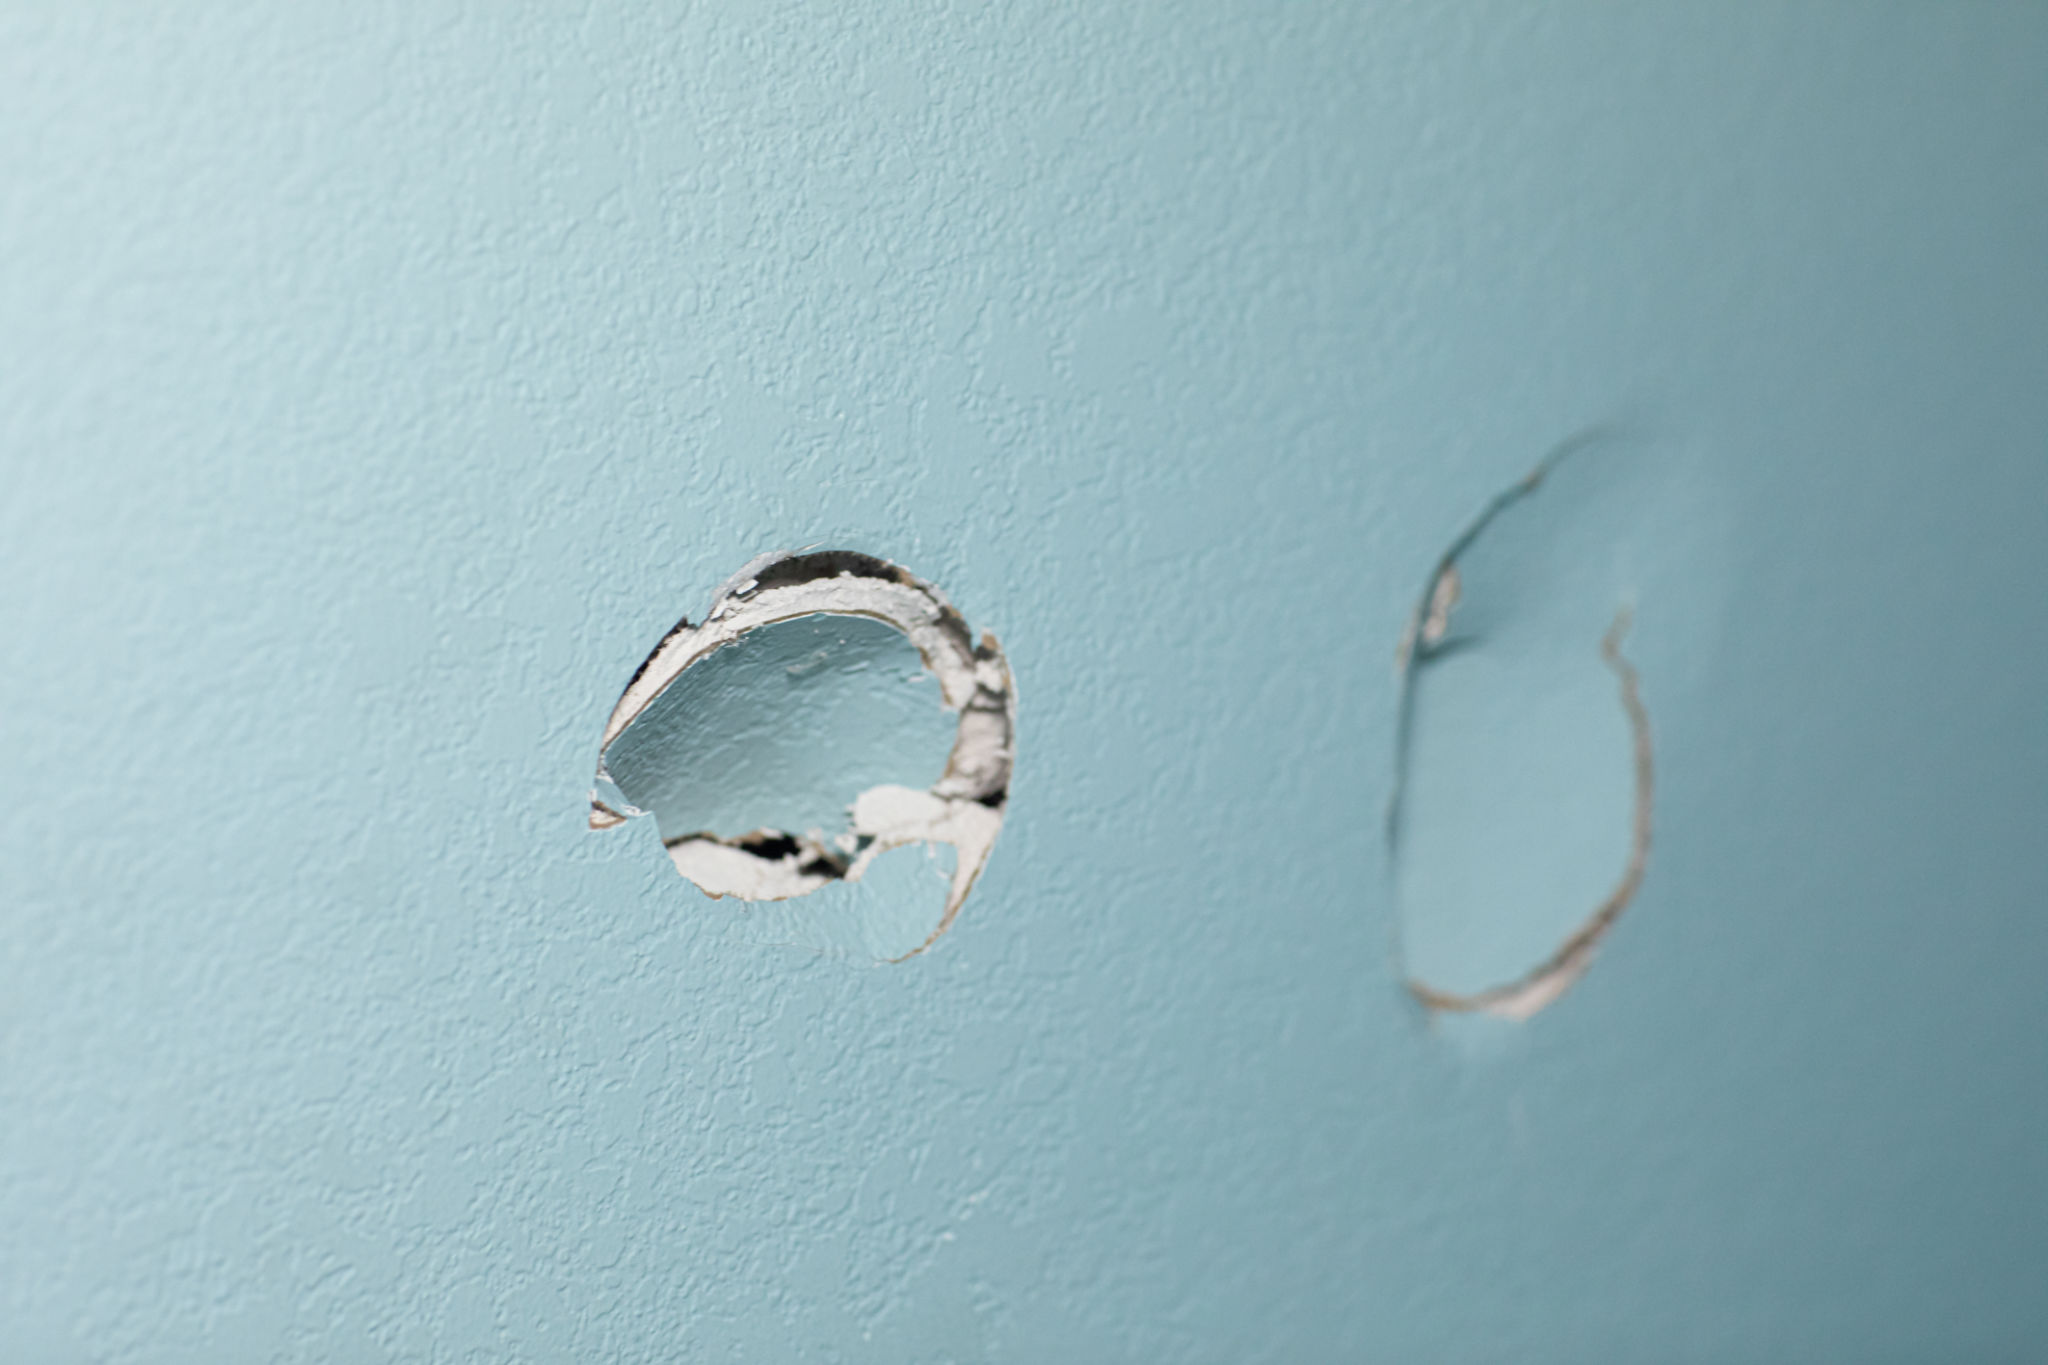
Inspect the walls for any cracks, holes, or imperfections that need to be addressed. Use spackle or a suitable filler to repair these areas, ensuring a smooth surface for painting. Once repairs are complete, sand the surfaces lightly to create an even finish.
Priming the walls is a crucial step that shouldn't be skipped. A good primer will ensure the new paint adheres properly and helps in achieving an even color tone. Choose a primer that is suitable for your wall type and the kind of paint you plan to use.
Selecting the Right Paint and Tools
Choosing the right paint is vital for a successful decorative painting makeover. Consider the room's purpose and lighting when selecting colors. Lighter hues can make a space feel larger, while darker shades add warmth and coziness.
Invest in quality brushes, rollers, and other painting tools. High-quality tools not only make the job easier but also result in a better finish. Ensure you have all necessary materials before beginning the project to avoid unnecessary interruptions.
Plan Your Design
Having a clear design plan is essential for a decorative painting makeover. Whether you're opting for stripes, stencils, or freehand designs, sketch out your ideas beforehand. This helps you visualize the final look and make any necessary adjustments before putting paint to wall.
Consider creating a mood board with colors and patterns that inspire you. This can guide your design choices and ensure cohesion throughout the space.
Protecting Your Space
Even though you've cleared the room, it's important to protect any areas that you don't want painted. Use painter's tape to cover edges, trim, light switches, and outlets. Lay down drop cloths or plastic sheets to shield floors from paint splatters.
If you're painting ceilings or high walls, ensure you have a sturdy ladder or scaffolding for safe access. Safety should always be a priority during any home improvement project.

Test Your Technique
Before diving into your main project, test your painting technique on a small area or sample board. This allows you to refine your method and ensures you're satisfied with the results before committing to the entire room.
If you're using multiple colors or intricate designs, testing can help you determine drying times and how well colors blend or layer together.
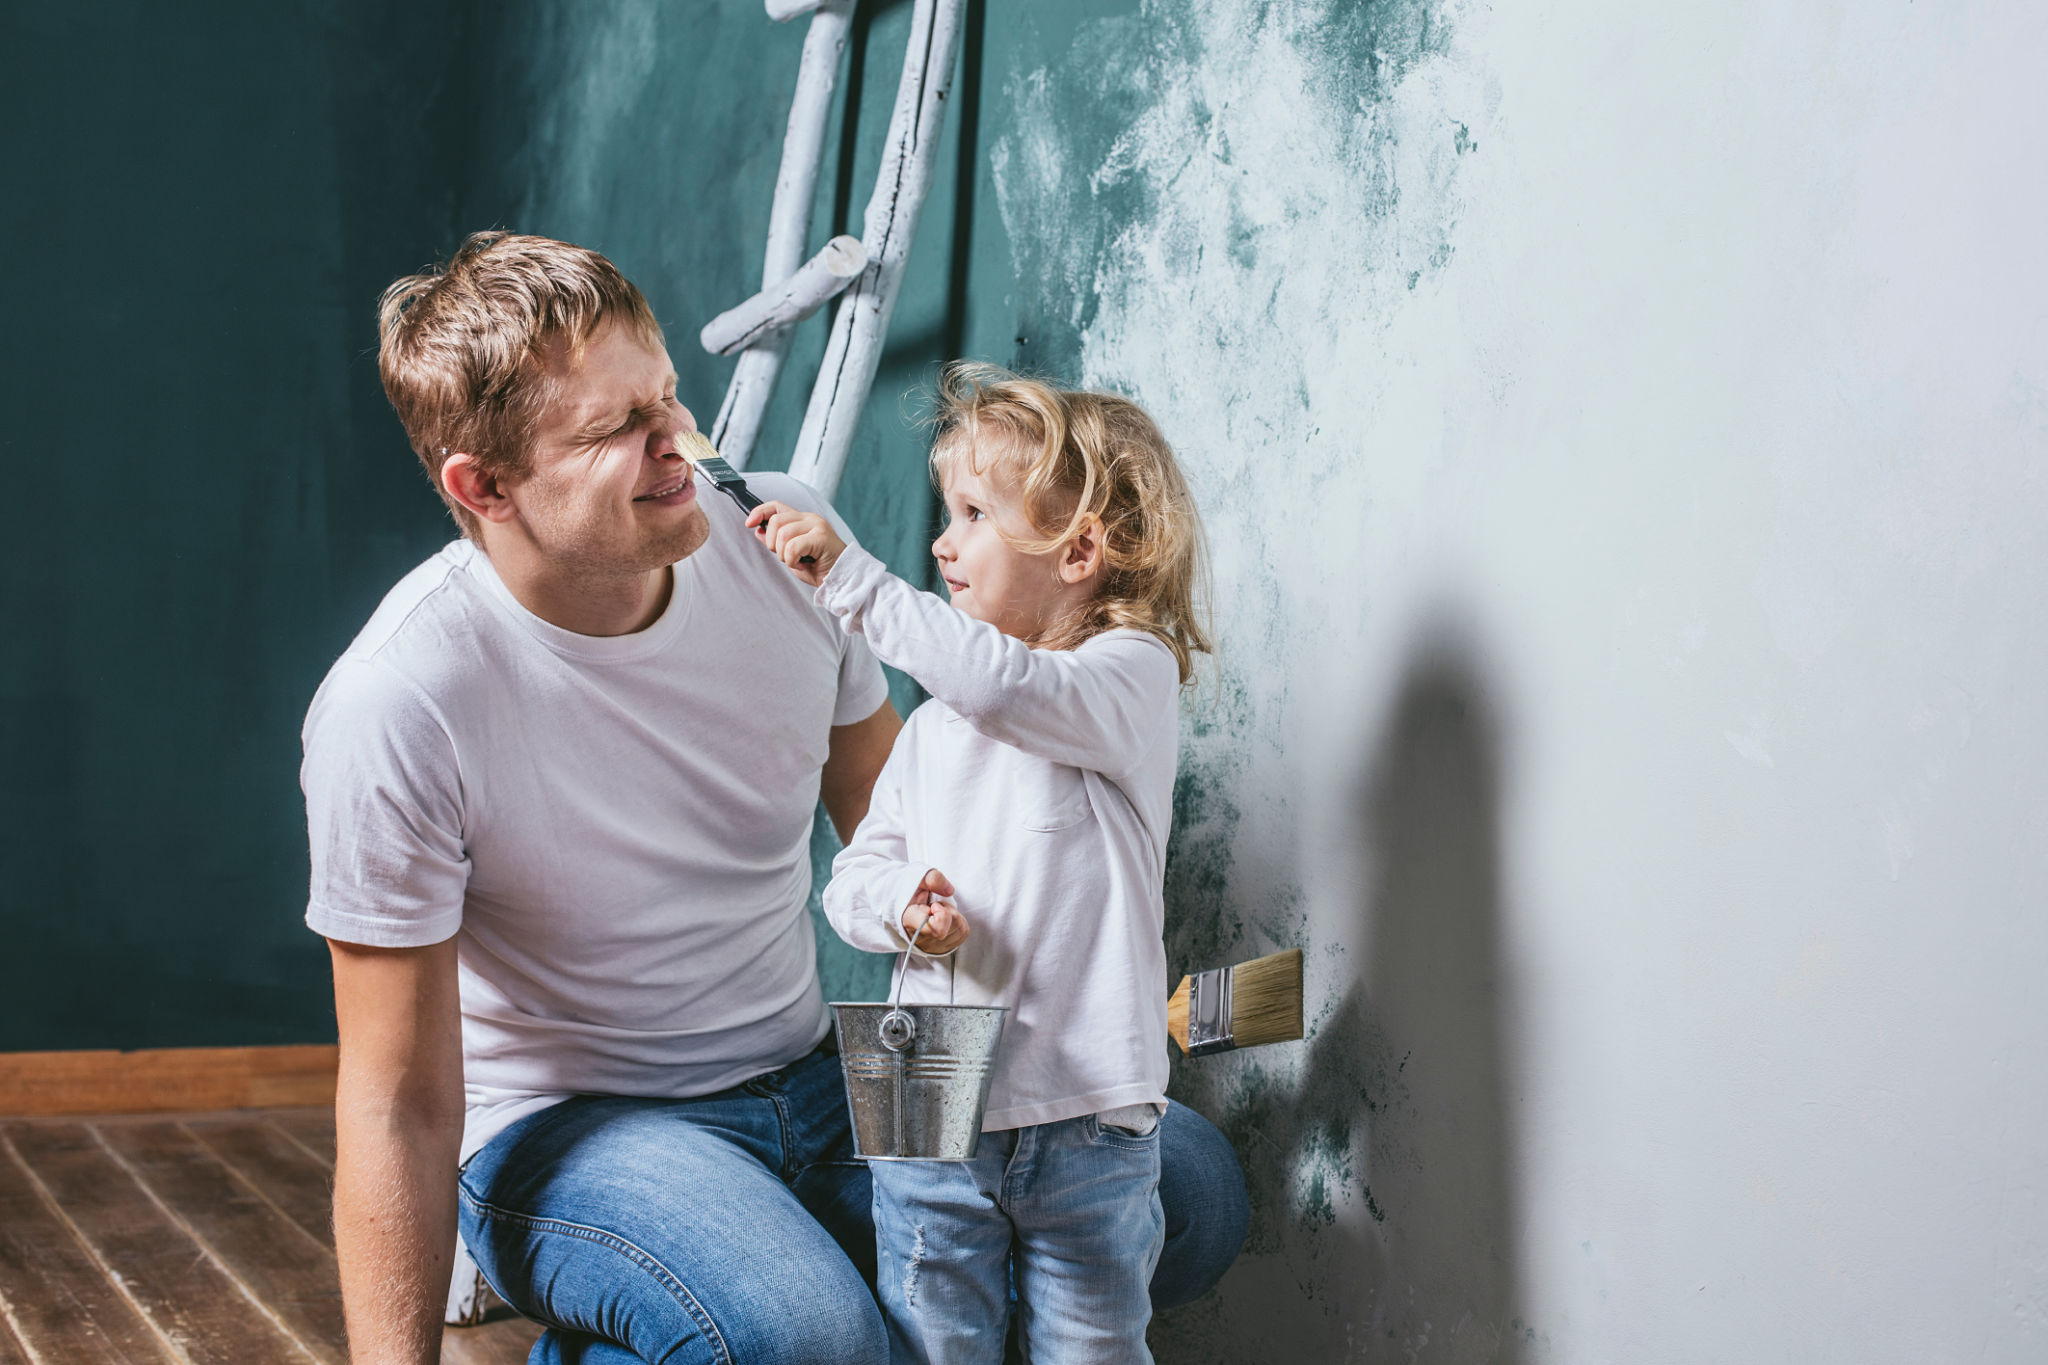
Execute with Patience
Once you're ready to start painting, remember that patience is key. Allow each layer of paint to dry completely before applying the next one. Rushing this process can lead to smudges and uneven finishes.
Take breaks as needed and step back to assess your progress regularly. This will help you maintain a high standard of work throughout your decorative painting makeover.
Final Touches
After your painting is complete and fully dry, remove all protective coverings and painter's tape carefully. Inspect your work for any touch-ups that might be needed.
Once you're satisfied with the results, bring back your furniture and decorations, arranging them in a way that complements your new design. Enjoy your transformed space!
