
Common Mistakes in DIY Decorative Painting and How to Avoid Them


Understanding the Basics of Decorative Painting
Decorative painting can transform a space, adding character and style to any room. However, diving into a DIY project without proper knowledge can lead to common mishaps that can be both time-consuming and costly. Understanding the basics is crucial before you start any decorative painting project.

First and foremost, it is essential to select the right type of paint for your project. Different surfaces require different types of paint, and using the wrong one can result in poor adhesion, peeling, or even cracking. Always consult with a professional or do thorough research to ensure you’re choosing the best option for your specific needs.
Preparing the Surface
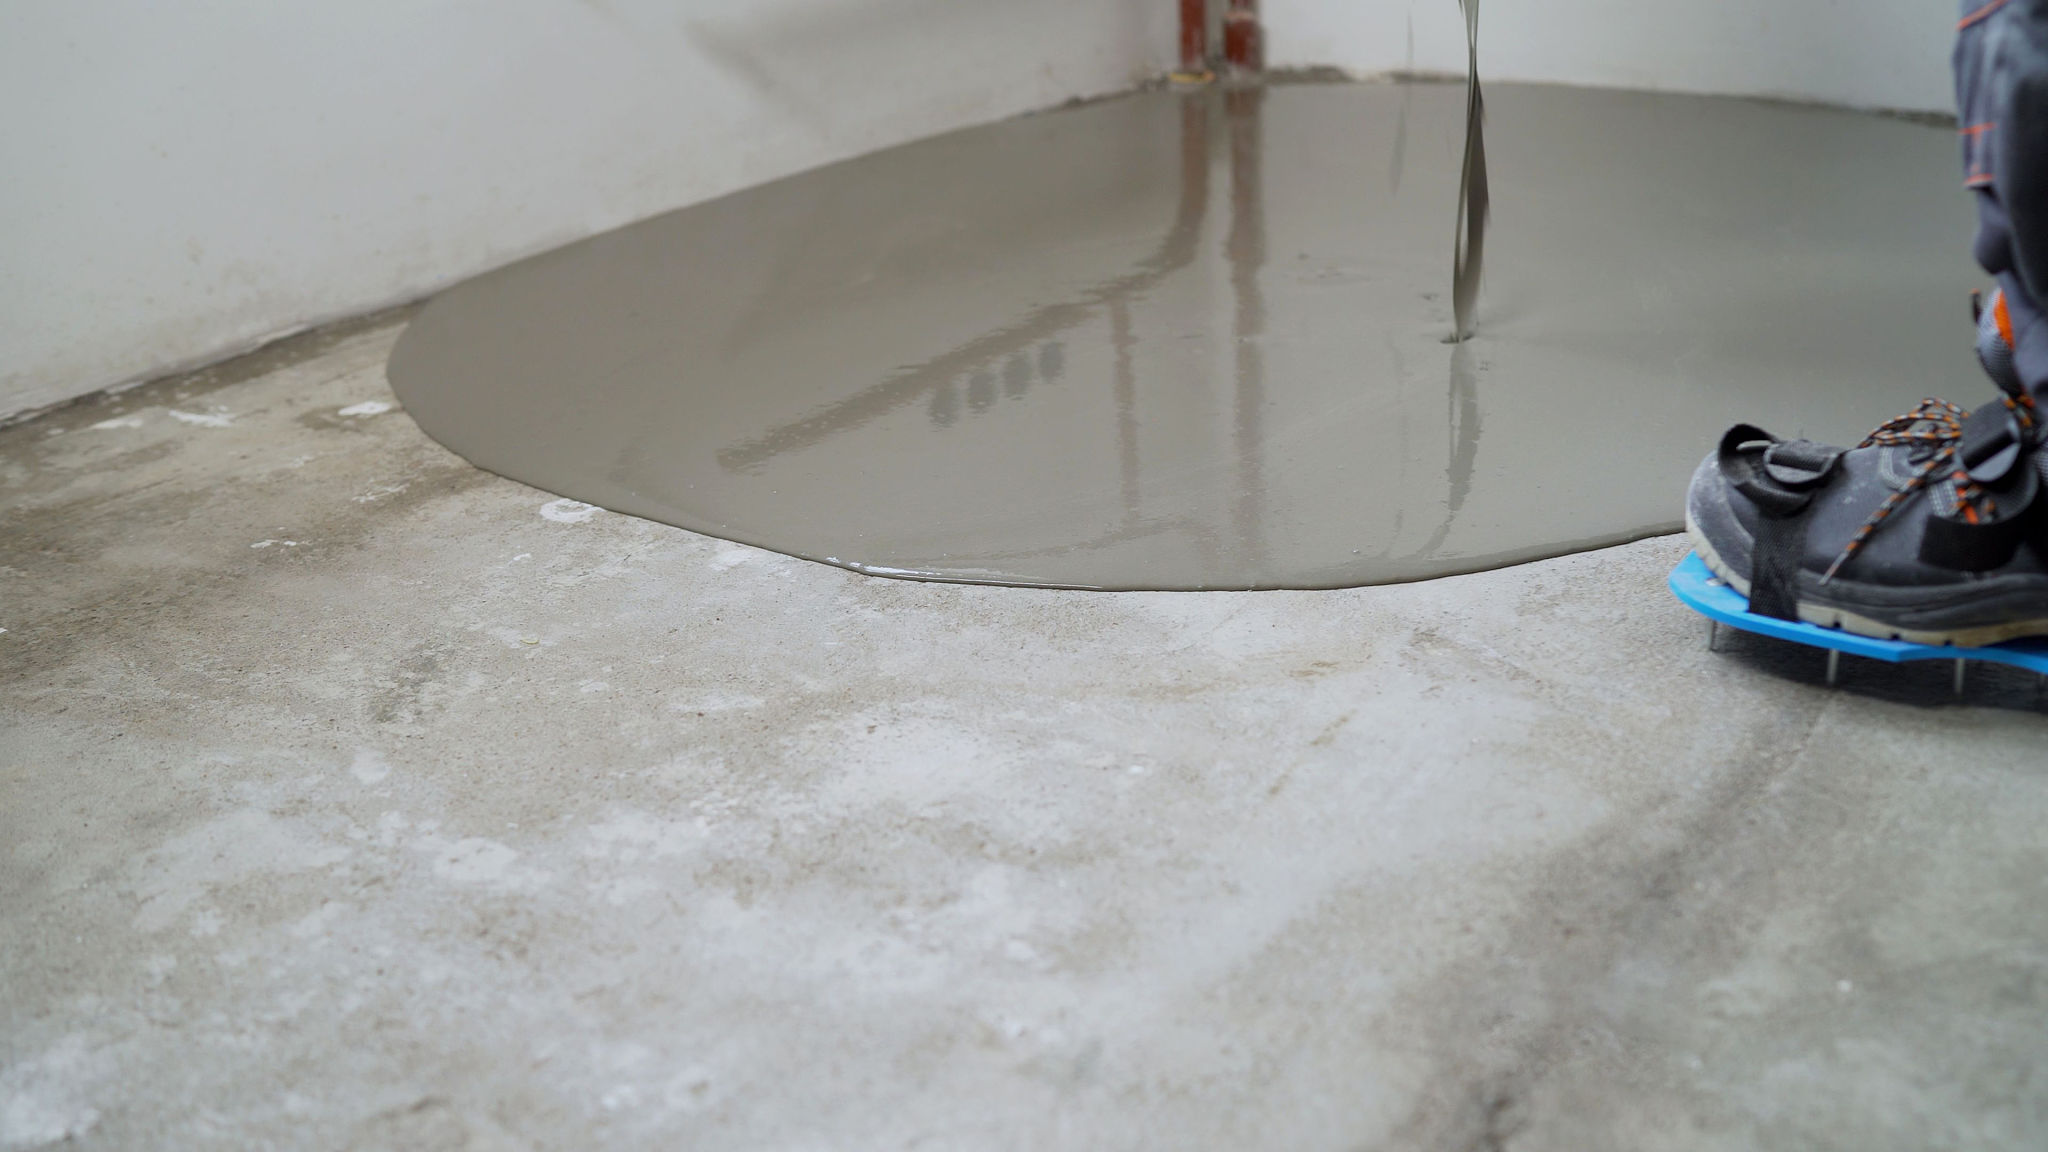
Preparation is key in any painting project, and skipping this step is one of the most common mistakes. Before applying any paint, ensure the surface is clean, dry, and free from any debris. Failing to do so can result in an uneven finish and poor paint adherence.
Properly priming the surface is another essential step often overlooked by DIY enthusiasts. A good primer not only enhances paint adhesion but also increases durability and provides a uniform surface for the topcoat. Don't underestimate the power of a good primer!
Choosing the Right Tools
The tools you use can greatly affect the outcome of your painting project. Many DIYers make the mistake of using low-quality brushes or rollers, which can lead to streaks or uneven application. Investing in high-quality tools may seem costly upfront but will save you time and frustration in the long run.
- Use brushes with synthetic bristles for latex paints.
- Opt for natural bristles when working with oil-based paints.
- Choose rollers with appropriate nap thickness based on your wall texture.
Avoiding Common Technique Errors
Applying too much or too little paint is another frequent error in DIY decorative painting. Overloading your brush or roller can cause drips and runs, while applying too little can result in an uneven finish. Practice proper technique by loading your tool evenly and applying consistent pressure throughout your strokes.

Layering is also crucial in achieving a professional look. Avoid trying to cover everything in one coat; instead, apply multiple thin layers, allowing adequate drying time between coats. This method ensures a smooth and lasting finish.
Managing Time and Expectations
Time management is often underestimated by DIY painters. Rushing through the project without allowing sufficient drying time between coats can lead to smudging and an unsatisfactory finish. Always check the drying times recommended by the paint manufacturer and plan your project timeline accordingly.
Moreover, set realistic expectations for your DIY venture. Understand that achieving professional results takes practice and patience. Don't be discouraged by minor mishaps—use them as learning experiences for future projects.

By being aware of these common mistakes and taking proactive steps to avoid them, you can enhance your DIY decorative painting project, achieving a stunning and polished finish. Happy painting!